How to Integrate BLE PLX In React Native?
Introduction of React Native BLE PLX
BLE represents Bluetooth Low Energy. a react-native-ble-plx library wrapping Multi-Platform connection. observing the device’s adapter. scanning Bluetooth devices and connected to external devices.
Android provides inherent platform support for BLE and provides APIs that applications can use to explore gadgets and the devolution of information. react-native-ble-plx doesn’t support phones through BLE, creating bonds with external devices. GATT shows you how BLE-devices is doing data transmission. For transfer data devices we should have a faithful connection.

What is BLE (Bluetooth Low Energy)?
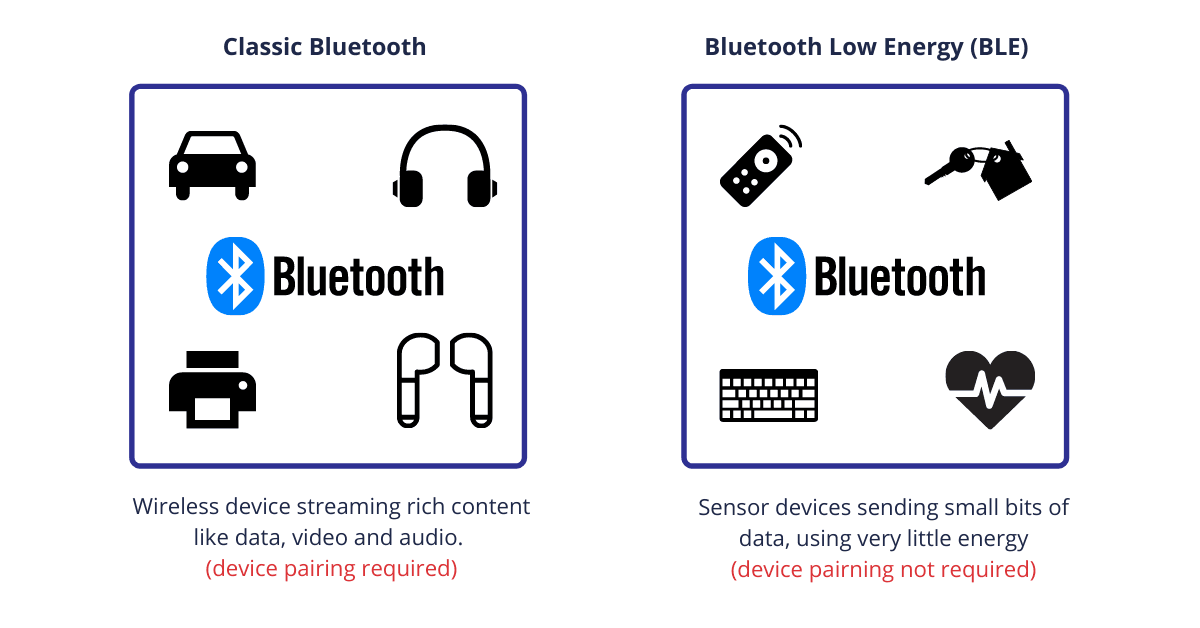
Bluetooth is a low-range wireless protocol to connect devices. Currently, Bluetooth has two versions: Bluetooth Classic & Bluetooth Low Energy.
1. Bluetooth Classic
it is generally referred to as Bluetooth. It supports continued connections and delivers large amounts of data. Bluetooth is connected with phone calls, audio and data.
2. Bluetooth Low Energy
it is known as BLE. Bluetooth version that is conditioned to low-power sensors and equipment. devices do not require stable connection but devices based on long battery life. BLE is a specialist in fitness, healthcare, securities, and home entertainment companies.
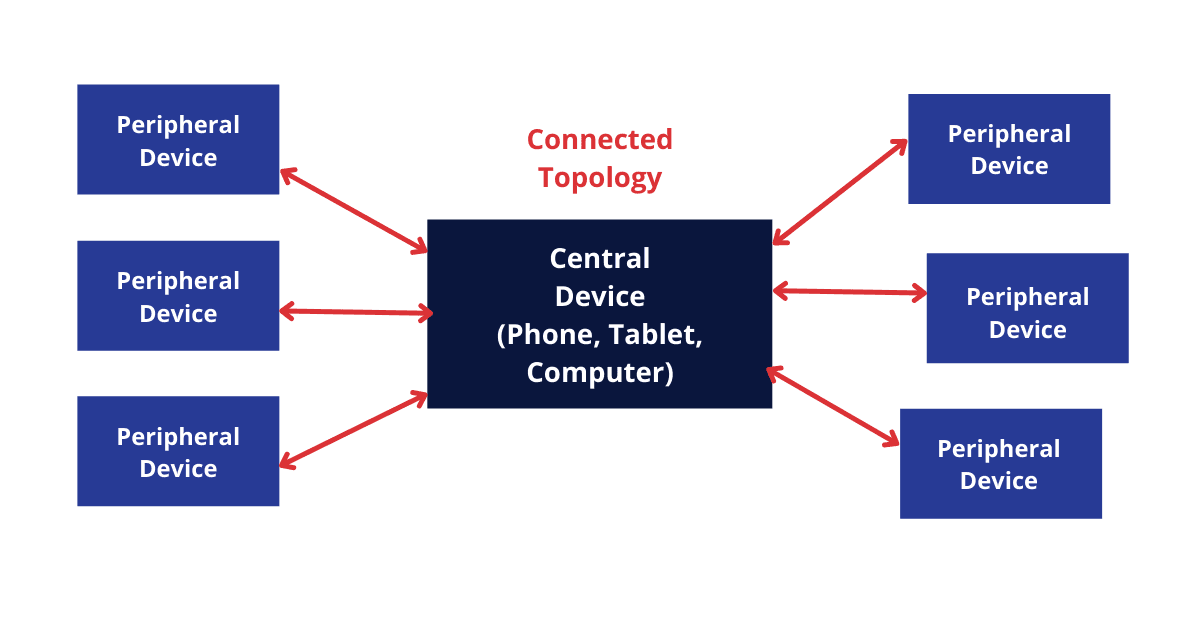
BLE devices are assumed as peripheral devices, mobile phones, tablets, and other gadgets as central devices. Each external device is connected with a central device, the central device is connected to an external:
Top Features of BLE (Bluetooth Low Energy) PLX
- Observe device’s Bluetooth connection
- Examine BLE devices
- making connections to an external device
- explore services and features
- Read and write features
- Observe features notifications and signals
- Perusal Received Signal Strength Indicator
- Maximum Transfer Unit Negotiation
Steps to implement BLE technology in Applications
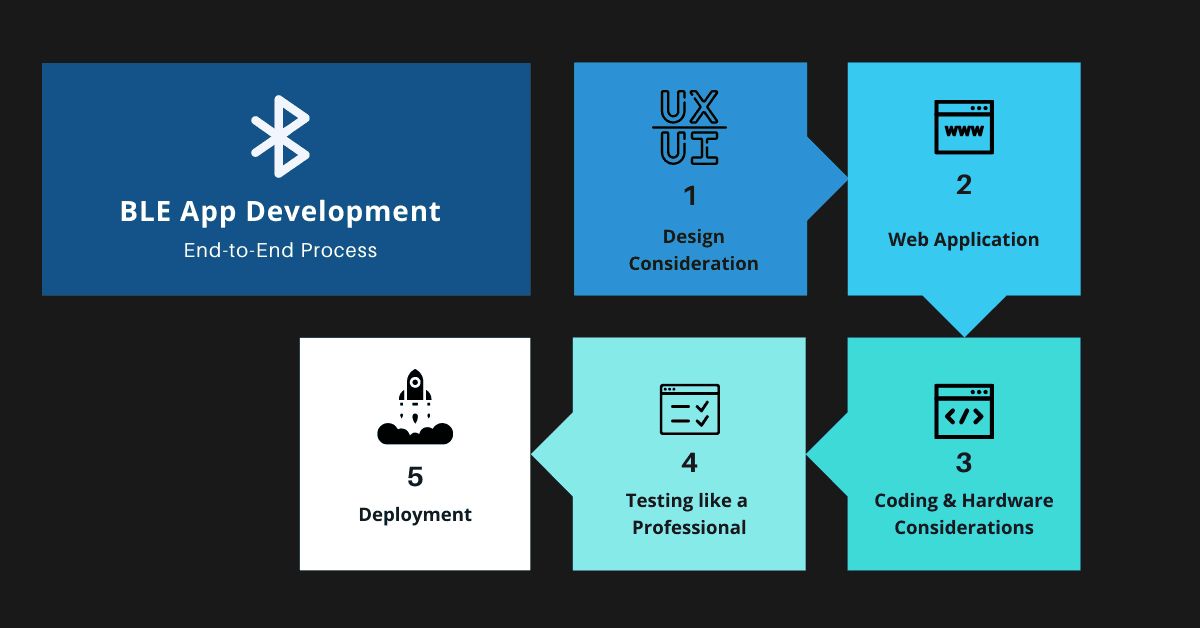
Process to Integrate BLE PLX in React Native
Step 1: Install BLE Package
npm install --save react-native-ble-plxIOS Changes: Add NSBluetoothAlwaysUsageDescription in info.plist file.
Android Changes: build.gradle file.
Step 2: Creating BLE Manager
Create BLE example which is a penetration to all Available APIs.
import {BleManager} from 'react-native-ble-plx'

const _BleManager = new BleManager();
Step 3: Scanning devices
Devices need to be checked first to be able to connect to them. There is a function which allows one recall to be registered to handle detected gadgets:
const startScan = () => {
    _BleManager.startDeviceScan(Null, {
      allowDuplicates: false,
      },
      async (error, device) => {
        setDisplaText('Scanning...');
        if (error) {
          _BleManager.stopDeviceScan();
        }
        console.log(device.localName, device.name);
        if (device.localName == 'Test' || device.name == 'Test') {
          setDevices([...devices, device]);
          _BleManager.stopDeviceScan();} }, );};
Step 4: Connecting services
BLE needs to link and explore services and features and it contains. Services may be explored based on their meaning.
const connectDevice = device => {
  	    _BleManager.stopDeviceScan();
 	   _BleManager.connectToDevice(device.id).then(async device => {
     	            await device.discoverAllServicesAndCharacteristics();
      	           _BleManager.stopDeviceScan();
    	             setDisplaText(`Device connected\n with ${device.name}`);
     	             setConnectedDevice(device);
                         setDevices([]);
      	device.services().then(async service => {
     			 for (const ser of service) {
         			 ser.characteristics().then(characteristic => {
            		getCharacteristics([...characteristics, characteristic]);
         			 });
        }
      });
    });
  };
Step 5: Disconnection Device
const disconnectDevice = () => {
    connectedDevice.cancelConnection();
  };
Step 6: Main View in Index.js file
<View style={styles.mainContainer}>
      {devices.length == 0 ? (
        <View style={{flex: 1, justifyContent: 'center', alignItems: 'center'}}>
          <TouchableOpacity
            activeOpacity={0.6}
            onPress={startScan}
            style={styles.circleView}>
            <Text style={styles.boldTextStyle}>{displayText}</Text>
          </TouchableOpacity>
        </View>
      ) : Object.keys(connectedDevice).length != 0 ? (
        <View style={{flex: 1, justifyContent: 'center', alignItems: 'center'}}>
          <Text style={{marginBottom: 12, textAlign: 'center'}}>
            Tap button to disconnect device.
          </Text>
          <TouchableOpacity
            activeOpacity={0.6}
            onPress={disconnectDevice}
            style={styles.circleView}>
            <Text style={styles.boldTextStyle}>{displayText}</Text>
          </TouchableOpacity>
        </View>
      ) : (
        <FlatList
          style={{flex: 1}}
          data={devices}
          keyExtractor={item => item.id.toString()}
          renderItem={items => (
            <TouchableOpacity
              activeOpacity={0.6}
              onPress={() => connectDevice(items.item)}
              style={{
                width: '100%',
                paddingVertical: 10,
                paddingHorizontal: 12,
                borderWidth: 1,
                borderRadius: 10,
              }}>
              <Text style={{color: 'black', fontSize: 18}}>
                {items.item.name}
              </Text>
            </TouchableOpacity>
          )}
        />
      )}
    </View>
  );
};

const styles = StyleSheet.create({
  mainContainer: {
    flex: 1,
    padding: 10,
    // justifyContent: 'center',
    // alignItems: 'center',
  },
  circleView: {
    width: 250,
    justifyContent: 'center',
    alignItems: 'center',
    alignSelf: 'center',
    height: 250,
    borderRadius: 150,
    borderWidth: 1,
  },
  boldTextStyle: {
    fontSize: 20,
    color: '#000',
    fontWeight: 'bold',
    textAlign: 'center',
  },
});
Benefits of BLE Technology
When we need to share information with a nearby device, connecting with the device directly is faster than setting with other connections that require a server and hardware. BLE is efficient at ranges because it is cheaper and faster than others. There is nothing to send, you don’t have to send any data for longer battery life devices that show notification about data when exactly data gets modified and another benefit is easily pairing with other users.

Conclusion
Developers of React native programming may be doing BLE communication modules via service and Bluetooth Low Energy commands. this library is very useful, using this library control a device over Web Bluetooth, maintained, asynchronous but requires comparatively slow performance because of multiple libraries.
FAQs
BLE represents Bluetooth Low Energy. react-native-ble-plx library wrapping Multi-Platform connection. Observe the device’s adapter.
The React Native Timer collection runs setTimeout when the app is in the background manner. Android works for both suspended and background manner, whereas for iOS it only works in the background manner, and not in another manner.
There are two libraries that can be used to unify BLE gadgets into your React Native application, one is react native ble plx and another is react native BLE manager.