Donating for a good cause
After the effective commitment we received from the blood camp, we thought of sorting out one more event of donating clothes to the required people. We essentially sort out such things by raising funds and giving to associations.
This time thought to make it something different and organized out the old clothes from our own closet and thought to share those clothes with the “Apang Manav Mandal”. While organizing this with the head of the Apang Manav Mandal and about their association we came to the conclusion simply giving clothes won’t be sufficient.
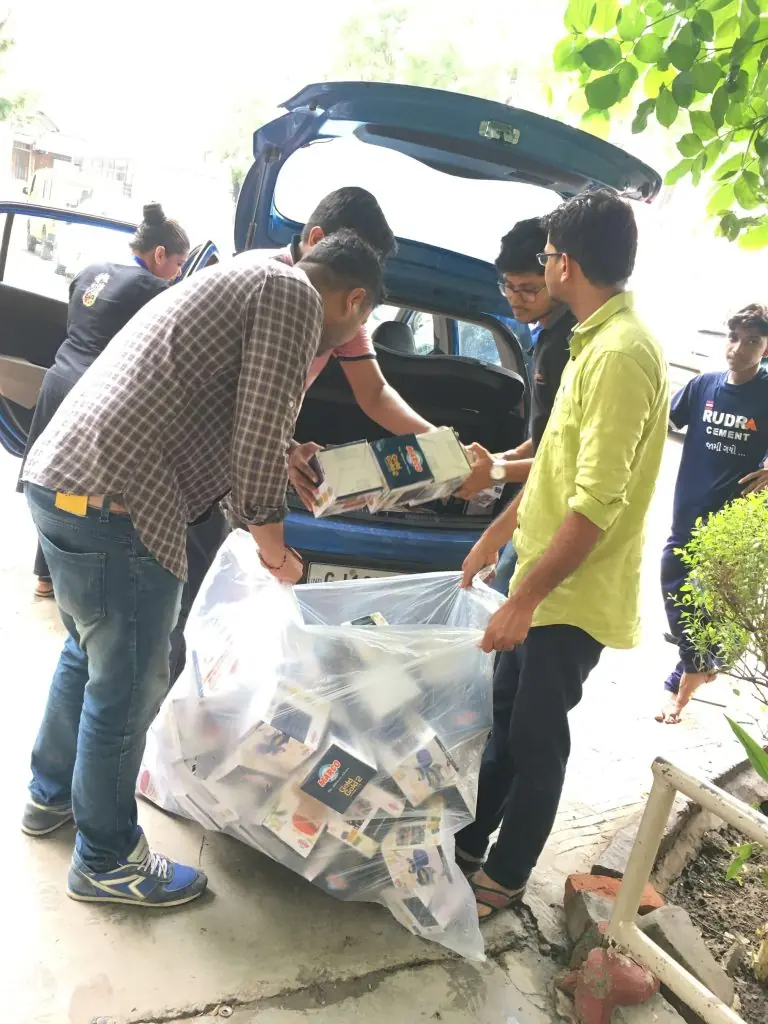
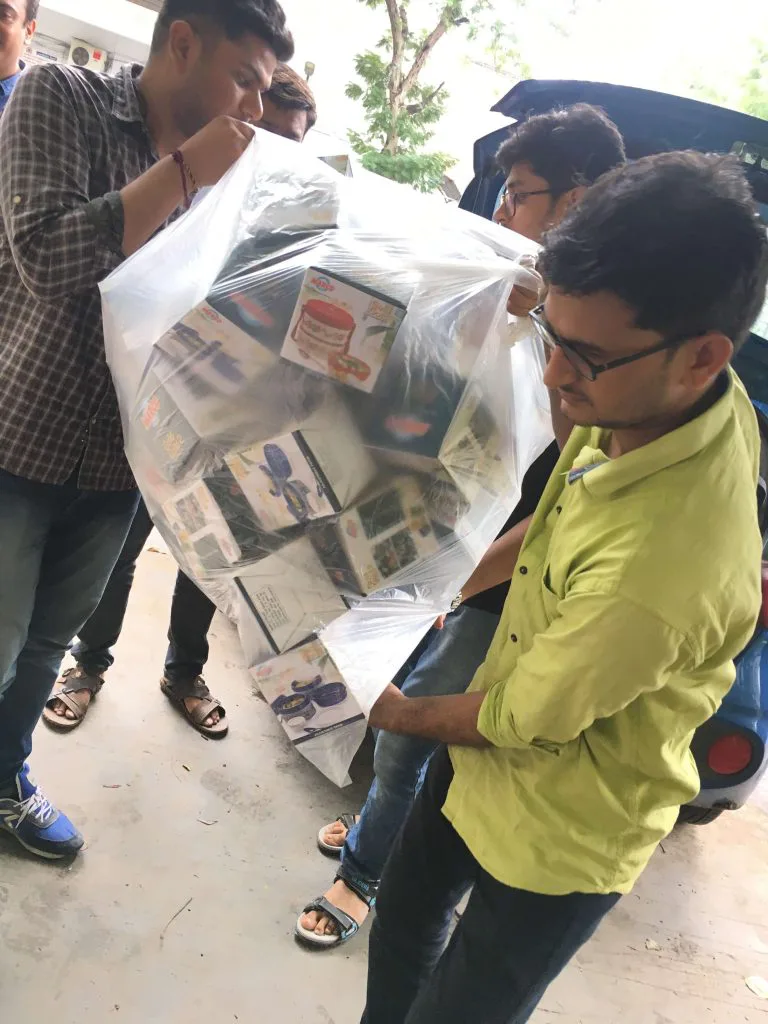
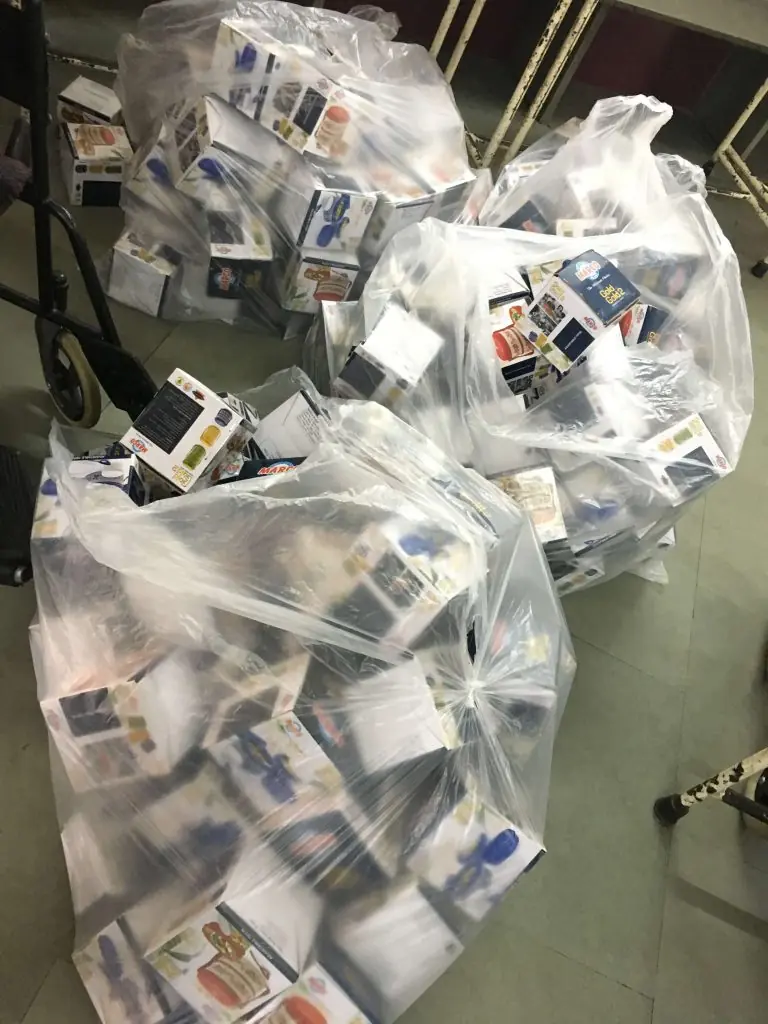
In this way, thought of gathering cash by keeping a charity box in the workplace. Toward the day’s end, we got a decent number of the tally from which we thought of acquiring Lunchbox to all the 180 students.
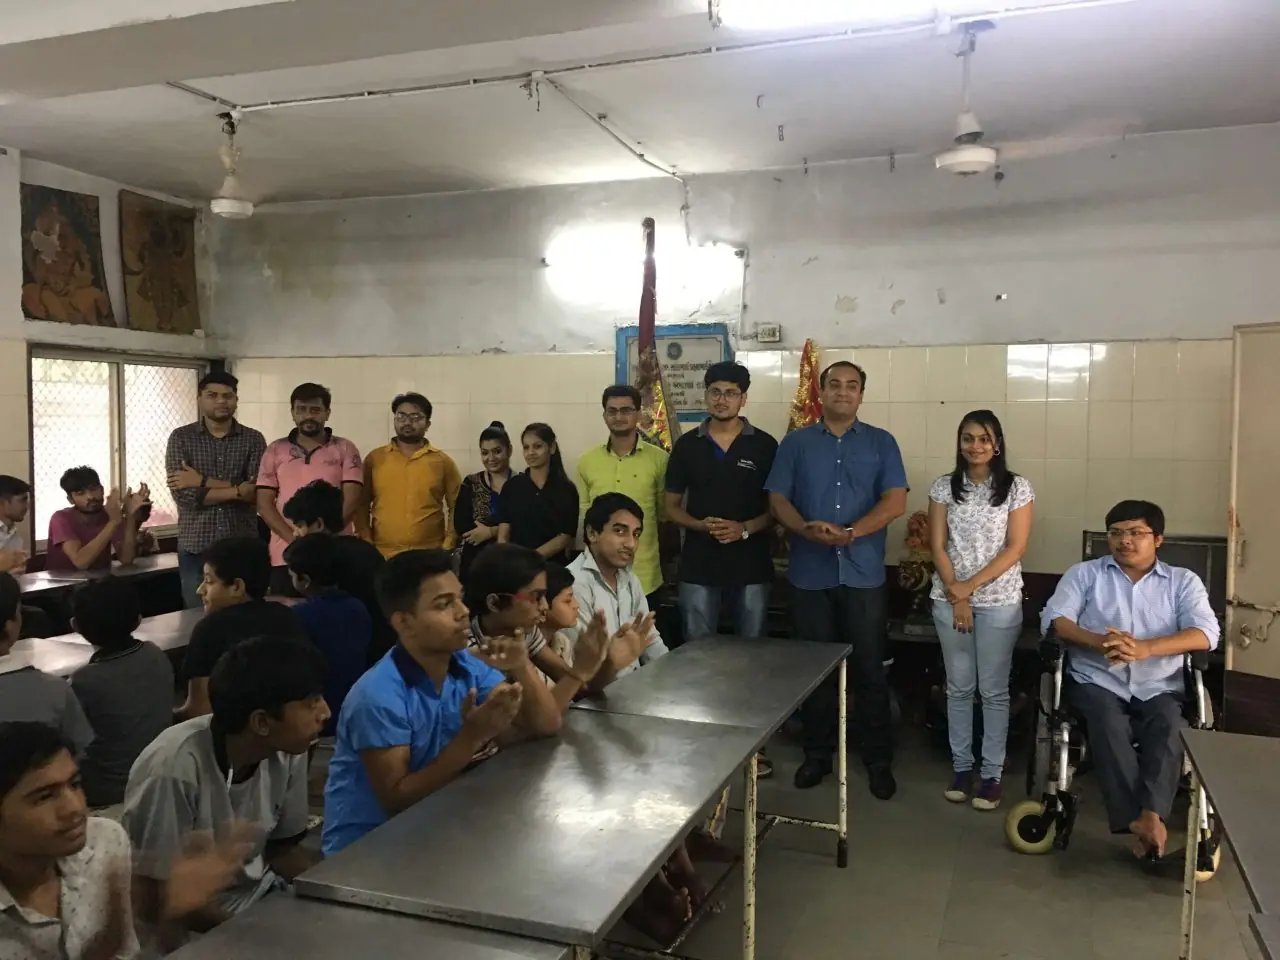
And, on last Saturday we approx 5-7 associates enclosed all the clothes properly and with the lunch boxes we reached to “Apang Manav Mandal”.
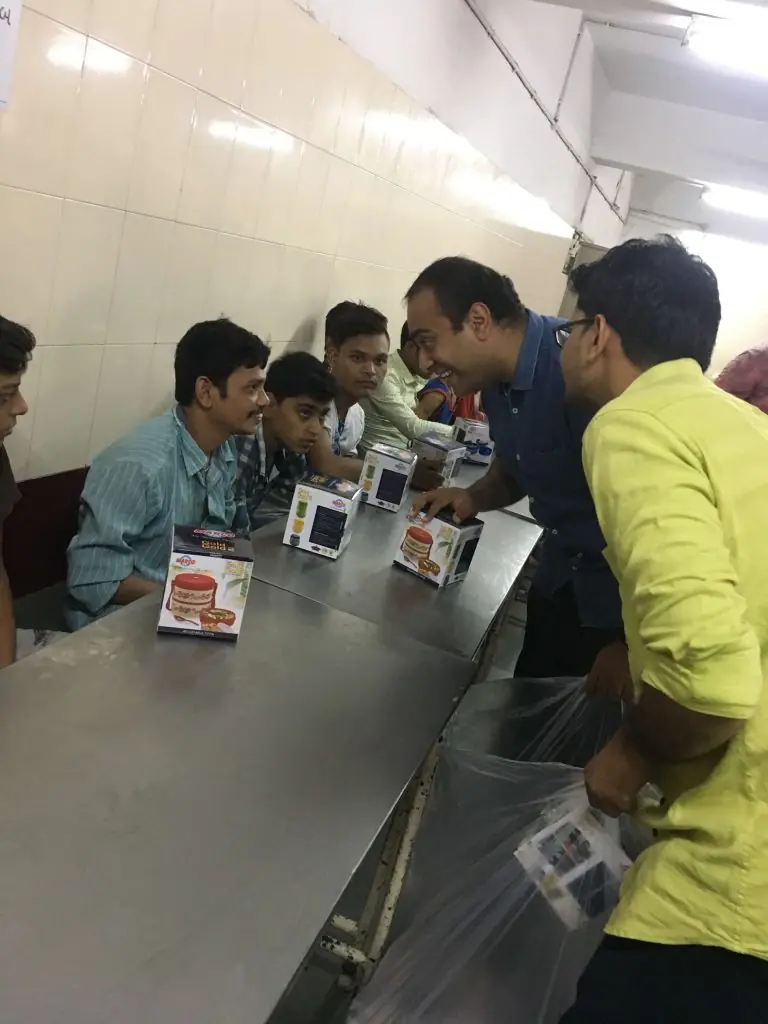
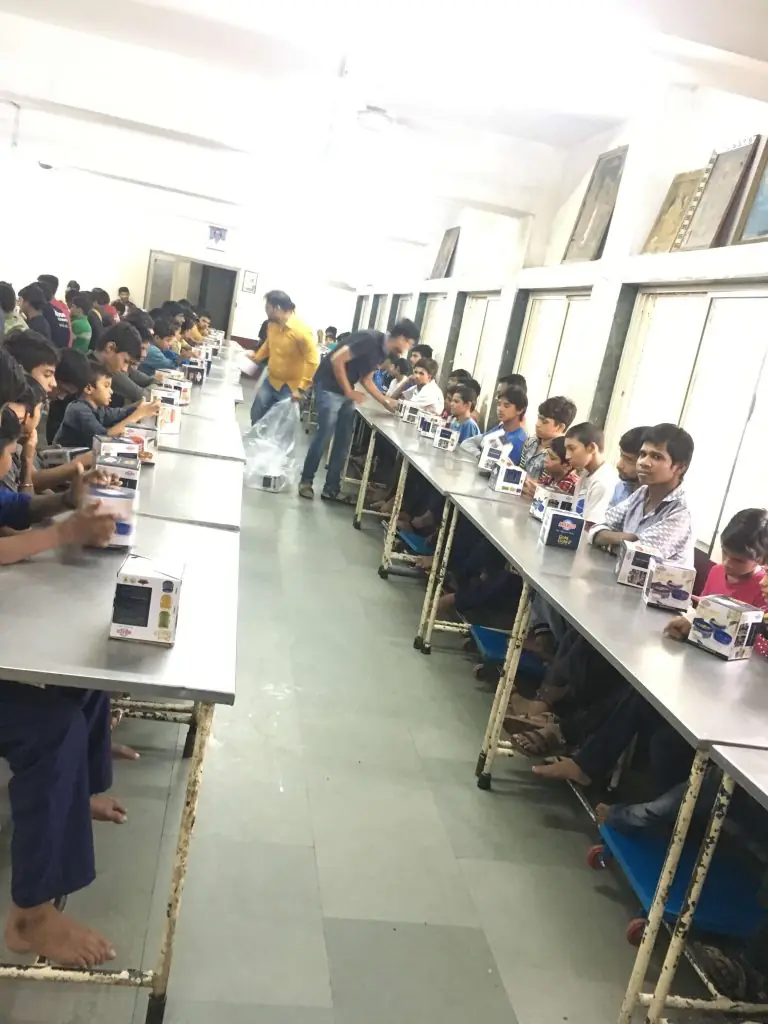


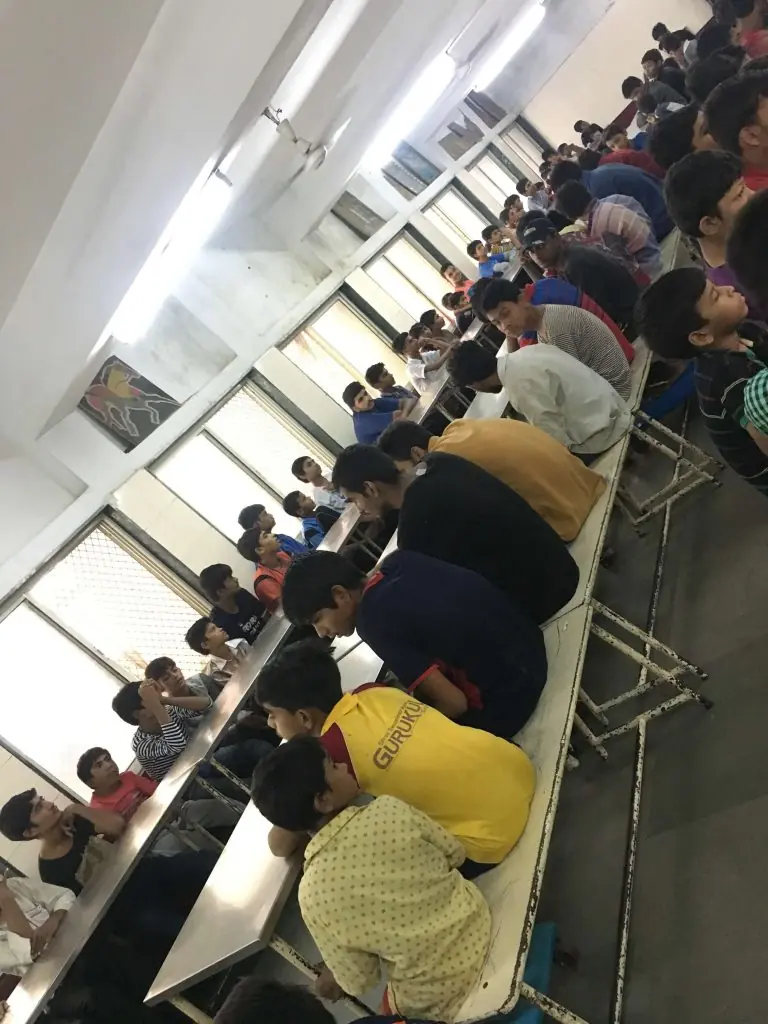
The evening was well spent with the students by distributing and connecting with them and their experiences. The saying is so true “A single pint can save three lives, a single gesture can create a million smiles.”
Request to Contact us on Email – contact@itoneclick.com for further any information related to this Blog.