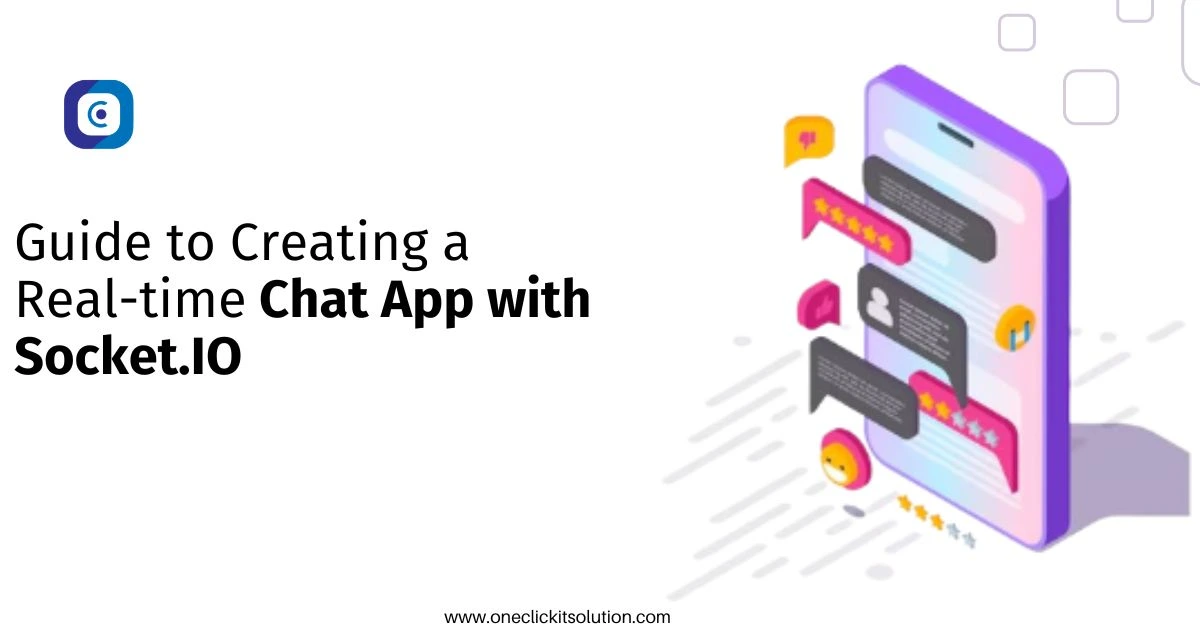
Guide to Creating a Real-time Chat App with Socket.IO
Introduction
An open-source framework for creating mobile apps is called Flutter. Its capacity to manage intricate user interfaces and animations with ease is one of its main advantages. A communication library called Socket.IO makes it possible for clients and servers to communicate in both directions. We will look at using Socket.IO with Flutter to create a chat application in this blog article. Flutter and Socket.IO work well together to create real-time, event-driven mobile apps.
Procedure
Socket.IO allows you to build real-time, reactive applications that can update their UIs in real-time without requiring the user to refresh the page. This powerful library enables seamless communication between the server and client, making it easier to create interactive and dynamic web applications.
To use Chat App with Socket.IO, we need to follow these steps:

1. Install Socket.IO client package for Flutter
We can use the “socket_io_client” package for Flutter to use Socket.IO in our mobile app. To install this package, add the following dependency to your pubspec.yaml file:
dependencies:
  socket_io_client: ^2.0.1
2. Connect to Socket.IO server
To connect to a Socket.IO server, we need to create an instance of the Socket.IO client and call the connect() method on it. For example:
import 'package:socket_io_client/socket_io_client.dart' as IO;

IO.Socket socket = IO.io('http://localhost:3000', <String, dynamic>{
  'transports': ['websocket'],
  'autoConnect': false,
});
In this example, we create a Socket.IO client instance and pass the URL of the Socket.IO server to the constructor. We also specify the transports to use and disable autoConnect.
3. Emit events
Once we are connected to the Socket.IO server, we can emit events from the client to the server using the emit() method. For example:
socket.emit('chat_message', {'message': 'Hello, World!'});In this example, we emit a ‘chat_message’ event to the server with a message payload.
4. Listen for events
To receive events from the Socket.IO server, we need to register event listeners using the on() method. For example:
socket.on('chat_message', (data) {
  print(data);
});
In this example, we register an event listener for the ‘chat_message’ event and print the data received from the server.
Example
Let’s create a simple real-time chat application using Flutter and Socket.IO. We will create a chat screen where users can send and receive messages in real-time.
First, we need to create a Socket.IO server. We can use any Socket.IO server implementation for this, but for simplicity, we will use the “socket.io” npm package. Follow these steps to create a simple Socket.IO server:
1. Install “socket.io” package
npm install socket.io2. Create server.js file
const app = require('express')();
const http = require('http').Server(app);
const io = require('socket.io')(http);
io.on('connection', (socket) => {
  console.log('a user connected');
  socket.on('chat_message', (msg) => {
    console.log('message: ' + msg);
    io.emit('chat_message', msg);
  });
  socket.on('disconnect', () => {
    console.log('user disconnected');
  });
});
http.listen(3000, () => {
  console.log('listening on *:3000');
});
In this example, we create an HTTP server using the Express framework and attach the Socket.IO instance to it. We listen for the ‘connection’ event and log a message when a user connects. We also listen for the ‘chat_message’ event and emit to all connected clients using the io.emit() method. Finally, we listen for the ‘disconnect’ event and log a message when a user disconnects.
Now that we have our Socket.IO server up and running, let’s create a Flutter app to connect to it and build the chat screen.
1. Create a new Flutter project
Open Android Studio and create a new Flutter project. Choose a suitable name and package name for your project.
2. Add Socket.IO client package
Add the following dependency to your pubspec.yaml file to use the Socket.IO client package:
dependencies:
  socket_io_client: ^2.0.0
3. Create chat screen
Create a new Dart file called “chat_screen.dart”. In this file, we will create a stateful widget that displays the chat screen.
import 'package:flutter/material.dart';
import 'package:socket_io_client/socket_io_client.dart' as IO;
class ChatScreen extends StatefulWidget {
  @override
  _ChatScreenState createState() => _ChatScreenState();
}
class _ChatScreenState extends State<ChatScreen> {
  IO.Socket socket;
  @override
  void initState() {
    super.initState();
    connectToServer();
  }
void connectToServer() {
socket = IO.io('http://localhost:3000', <String, dynamic>{
'transports': ['websocket'],
'autoConnect': false,
});
socket.connect();
}
@override
Widget build(BuildContext context) {
return Scaffold(
appBar: AppBar(
title: Text('Flutter Socket.IO Chat'),
),
body: Center(
child: Text('Chat Screen'),
),
);
}
}In this code, we import the Socket.IO client package and create a stateful widget called “ChatScreen”. We create an instance of the Socket.IO client in the initState() method and connect to the server. We also create a basic chat screen UI using the Scaffold widget.
4. Send and receive messages
To send and receive messages in real-time, we need to add some code to our chat screen. We will add a text field for users to enter their messages, a send button to send the message, and a message list to display all the messages received from the server.
import 'package:flutter/material.dart';
import 'package:socket_io_client/socket_io_client.dart' as IO;

class ChatScreen extends StatefulWidget {
  @override
  _ChatScreenState createState() => _ChatScreenState();
}

class _ChatScreenState extends State<ChatScreen> {
  IO.Socket socket;
  TextEditingController messageController = TextEditingController();
  List<String> messages = [];

  @override
  void initState() {
    super.initState();
    connectToServer();
  }
  void connectToServer() {
    socket = IO.io('http://localhost:3000', <String, dynamic>{
      'transports': ['websocket'],
      'autoConnect': false,
    });
    socket.connect();
    socket.on('chat_message', (data) {
      setState(() {
        messages.add(data);
      });
    });
  }
  void sendMessage() {
    String message = messageController.text.trim();
    if (message.isNotEmpty) {
      socket.emit('chat_message', message);
      messageController.clear();
    }
  }
  @override
  Widget build(BuildContext context) {
    return Scaffold(
      appBar: AppBar(
        title: Text('Flutter Socket.IO Chat'),
      ),
      body: Column(
        children: [
          Expanded(
            child: ListView.builder(
              itemCount: messages.length,
              itemBuilder: (BuildContext context, int index) {
                return ListTile(
                  title: Text(messages[index]),
                );
              },
            ),
          ),
          Row(
            children: [
              Expanded(
                child: TextField(
                  controller: messageController,
                  decoration: InputDecoration(
                    hintText: 'Type your message here...',
                  ),
                ),
              ),
              IconButton(
                icon: Icon(Icons.send),
                onPressed: sendMessage,
              ),
            ],
          ),
        ],
      ),
    );
  }
}
In this code, we add a TextEditingController to get the user’s message input and a List<String> to store all the received messages. We also listen for the ‘chat_message’ event from the server and add the received message to our message list using setState() to trigger a rebuild of the UI. We create a sendMessage() method that sends the message to the server using the emit() method and clears the text field. Finally, we create a UI that displays the message list and allows users to enter and send messages.

Conclusion
In this blog, we learned how to use Socket.IO with Flutter to build a real-time chat app. We created a simple Socket.IO server that sends and receives messages using the socket.io package in Node.js.
We then created a Flutter app that connects to the server using the socket_io_client package and built a chat screen that allows users to send and receive messages in real-time. With these basic building blocks, you can customize and extend the app to fit your needs.
You can hire experienced Flutter developers who can create cross-platform mobile apps with exceptional performance and stunning UI. Contact us now!
FAQs
Socket.IO allows you to build real-time, reactive applications that can update their UIs in real-time without requiring the user to refresh the page. This is useful for building applications like chat apps, multiplayer games, and collaborative tools. Flutter is a great choice for building such applications since it provides a fast, reactive UI and allows you to easily customize the look and feel of your app.
Socket.IO has a relatively high overhead compared to other real-time communication libraries like Firebase Realtime Database or Google Cloud Pub/Sub. This can lead to increased latency and decreased performance for high-traffic applications. Additionally, since Socket.IO is a third-party library, it may not be suitable for all use cases.
You can improve the performance of Socket.IO by reducing the number of messages sent between the client and the server and by optimizing the data sent over the network. For example, you can compress data before sending it over the network, use binary data instead of text data, and reduce the size of the payloads sent between the client and server. Additionally, you can use techniques like caching and load balancing to improve the performance of your server.