Android Custom Library: Everything You Need to Know
Introduction to Android Custom Library
From the scratch let’s understand what a library is. Libraries are game changers in the software development industry across all the technology stacks. Using libraries, we reduce the efforts of developers by performing actions/functions faster, more effectively and with less amount of boilerplate code. It is a thing that developers are dealing with every day.
Code reusability has been there since the advent of code, and Android is no exception. The final goal of every library is code reusability across all the projects. Every developer often comes in a situation where there is some code which is good to get reused in other projects or in the future. As an android developer this is the situation where you can think of an android library.
Apart from the usage of other 3rd party libraries, as an android developer if you have some bunch of code that can be reused in the future, you can think of creating your own android custom library, where you can put your bunch of code and reuse it in other projects without writing or copy/paste the same code in every project.
Importance of Android Custom Library
When we are developing an Android application, we have some code that is there in all the mobile applications we develop. For example, a function to check whether the internet is available or not, a function to check whether an email is correct or not, a function to download any file from the internet.

So this kind of code we can have in an android library and using that library in a project we can use those functions in every project, all you need to do is just implement that custom library in every project.
A Deep Dive into the Creation of Android Custom Library
Let’s rock & roll. Below are steps of creating a custom library & deploying it on JitPack:
Step 1: Project Creation
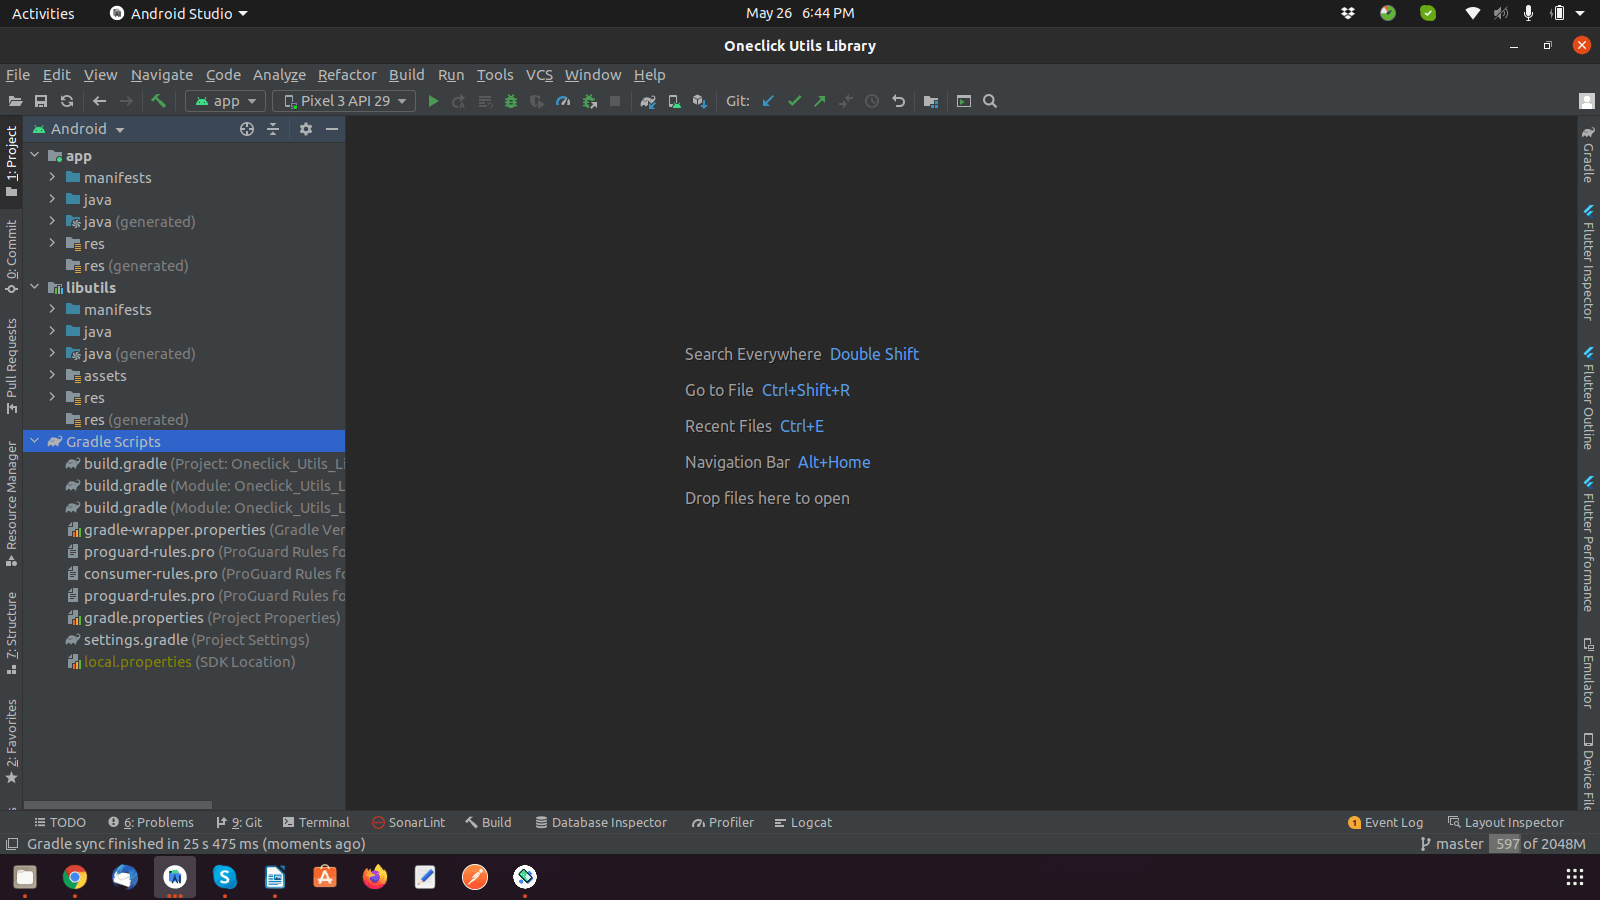
Create an Android project and add a library module, here the library module name is libutils.
Step 2: Library Configuration
Now, we have to make some changes on the build.gradle files of the library.
– Add classpath “com.github.dcendents:android-maven-gradle-plugin:$LATEST_VERSION” in the project level build.gradle file.
dependencies {

   classpath "com.android.tools.build:gradle:4.2.2"

   classpath "org.jetbrains.kotlin:kotlin-gradle-plugin:$kotlin_version"

   classpath "com.github.dcendents:android-maven-gradle-plugin:2.1"

   // NOTE: Do not place your application dependencies here; they belong

   // in the individual model build.gradle files
– Add id ‘com.github.dcendents.android-maven’ in library’s build.gradle.
– Add group= ‘com.github.darshanpopat’ after plugins part in library’s build.gradle.
plugins {

   id 'com.android.library'

   id 'kotin-android'

   id 'com.github.dcendents.android-maven'

 }

group= 'com.github.darshanpopat'
Step 3: Adding Data to Library
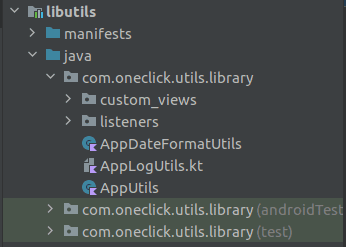
Now, add files/code that you want to reuse in other projects in the new module that we have created in Step-1.
Step 4: Deploying Code to Git (GitLab, GitHub, BitBucket)
Now we have to upload the project on the Repository on GitHub.
Step 5: Creating Release on Git
After uploading code to GitHub, now it’s time to create a release of that library. The release section will be there on the left-hand side of the Repository page on GitHub. Inside that section, there will be a “Draft a new release” button. By clicking that button you will see something like the below screenshot:
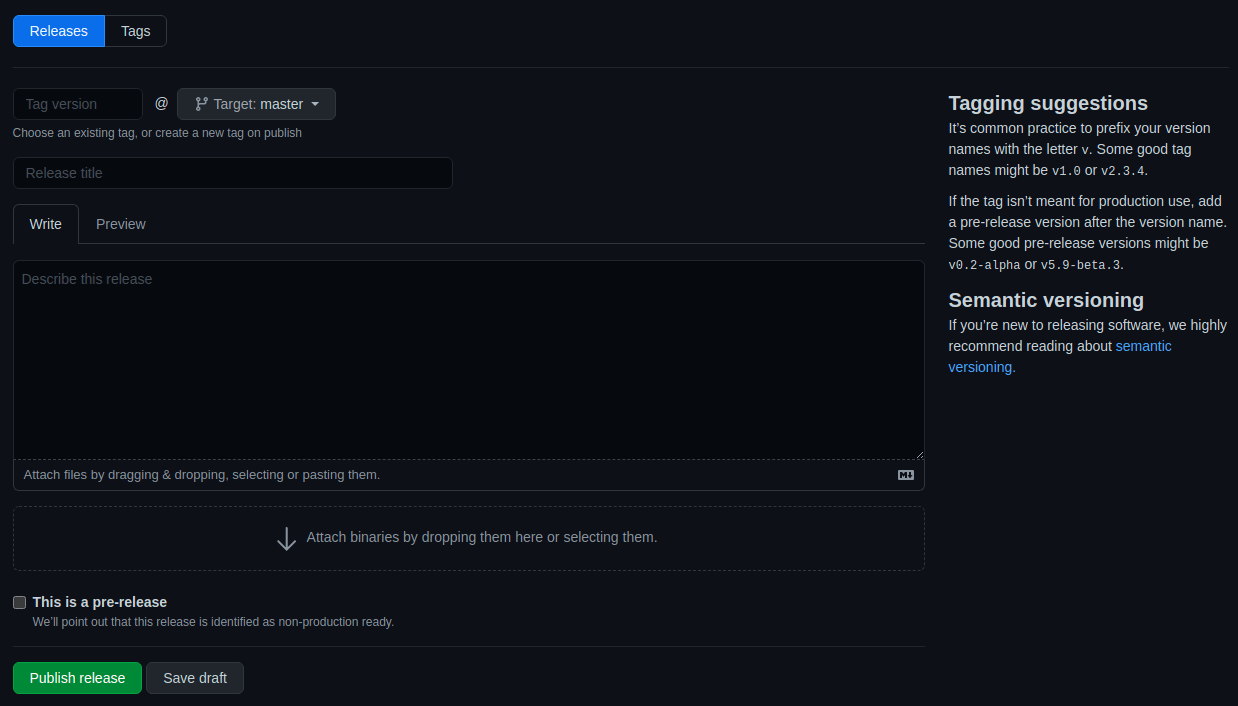
Here on this page, we have to enter release details of our android custom library. Enter the version number of the library like 1.0.0, 1.2.0, 1.5.0, etc. and select the branch in which you have uploaded the latest code of the library (By default it will be the master branch). After this enter release title to identify what you have included in the library.
Also, enter the description of what this release contains so that other people can read and understand what all things have been included.
We can also release the library for testing purposes like Beta or Alpha by using “This is a pre-release”. This will not be considered as fully released but it will be for testing purposes and then you can mark the pre-release as final release.
Finally, hit the “Publish Release” button to complete the process.
Step 6: Finishing Process with JitPack
Now it’s time to take JitPack in the picture and finish the uploading process. Open JitPack and enter the URL of the GitHub repository in the box.
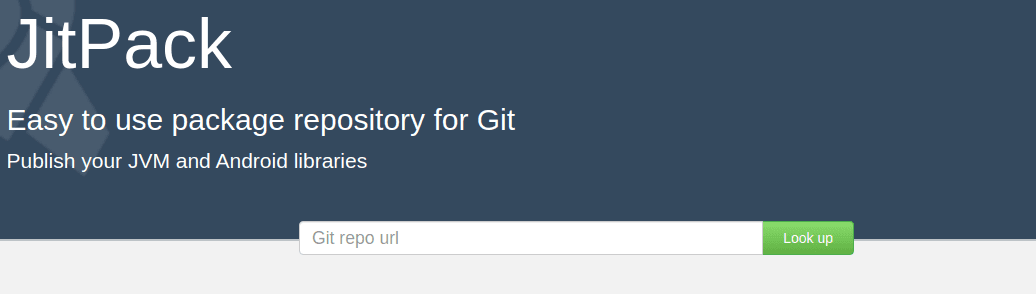
After posting the URL, hit the “Look Up” button to start the process. It will find all the releases in the repository and show them in the list. You will see something like these:
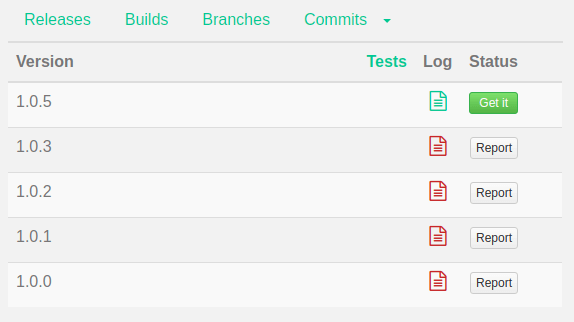
Here we have created 5 different releases for the library, and it’s showing all with status. You can see in the Log column for the status. If the file icon is red then there are some issues in publishing the library, in this situation you can click on “Report” to see the error log. If the file icon is Green then the job is done, your custom library is now published.
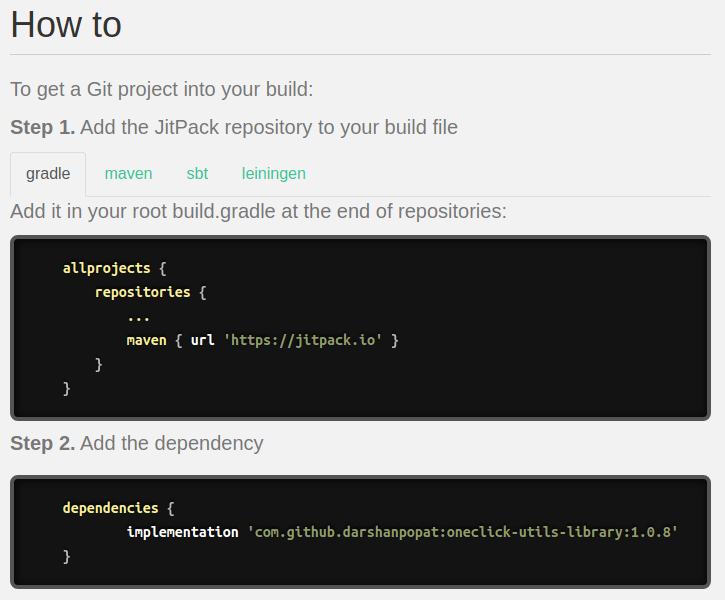
Click on the “Get It” button to see how to implement your library in an android application. Refer to below screenshot to see how it will look:

Conclusion
That is all we have in the android custom library creation article. By creating our own custom library we can reduce the work of writing the same code in every android application. Also if we have created the custom library and used it, and we have a situation to update the particular function or we have an issue, the customization will be easy. All you need to do is, go to the library’s code and make necessary changes and update the library with the new release.
Hope you have enjoyed reading the article and you have learned how to create an android custom library. Now you are ready to share your skills with the world!

FAQs
Basically, there are 2 ways of publishing an android custom library: JitPack and MavenCentral
Yes, we can use almost all Git providers. The below code describes more:
Other Git Hosts
– BitBucket: org.bitbucket.Username:Repo:Tag
– GitLab: com.gitlab.Username:Repo:Tag
– Gitee: com.gitee.Username:Repo:Tag
– Azure: com.azure.Project:Repo:Tag
Custom libraries are available across all the technologies. Ways can be different but we can have libraries in all the technologies.