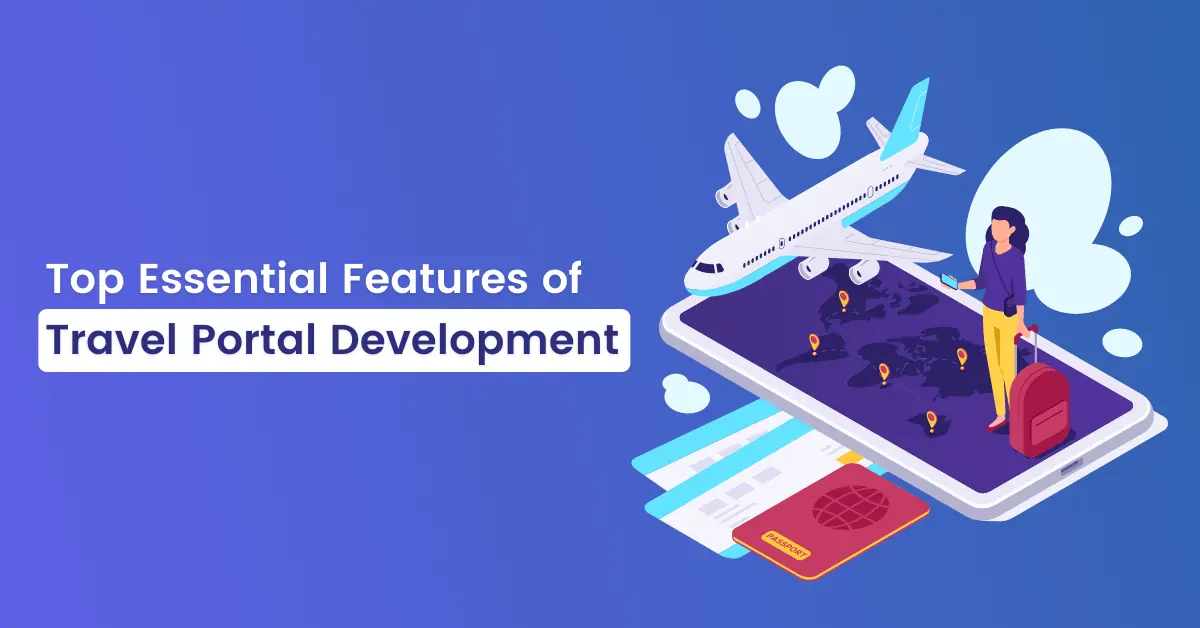
6 Essential Features Need To Put In Your Travel Portal Development
Overview
To curate, a promising travel portal one needs to put themselves in the shoes of a consumer. Technology has definitely changed our way of thinking. The correct blend of technology and a good strategy can give way to outstanding results for a travel portal development company.
The travel sector has seen a radical change in the recent past. A few years back, one had to stand in messy queues to book tickets. But the scenario isn’t the same anymore.
Keeping in mind, the humongous impact that the sector has on the economy, online travel portals are coming up with well-witted strategies to entice potential customers. Newbie entrants in the sector are leaving no stone unturned to make a mark. They have started investing in comprehensive travel portal development to offer their customers an all-around booking experience from flights to trains to hotels and activities.
In this blog, let’s take a look at essential features that travel portal companies need to incorporate in their development:

Top Essential Features for Travel Portal
1. Create an Android/iOS App
Most companies generate a chunk of their revenues through mobile devices. The purpose behind this idea is to comfort the user and set the portal ablaze. Features and ideas like these boost the business. This move can never be undermined. We want a quick solution to everything regardless of the problem. So, if your travel portal is ready to offer handy services, it’s a total win-win situation. Travel portal development companies are coming up with ideas that are fresh and custom-designed for users.
2. Responsive Design
Top-notch travel portals create aesthetically beautiful designs that are well integrated with mobile devices as mentioned earlier. This easily captivates the attention of users. The design should be such that it may provide easy navigation. This would save the user from potential problems. The easy navigation option allows customers to screen through your products & services with ease. Also important is to create a website that can be understood by users without much fuss. After all, you want a travel portal service that is convenient & seamless.
3. Easy Search Filters
The travel portal should be able to provide easy search filters. They must list more information pertaining to the booking system. More precisely, one should be able to select the country to visit, the date of travel, and the option of a myriad of hotels. Umpteen other menus such as holiday packages, car & bus rental services are expected to be listed. Entrusting the travel portal development job to an experienced company can help you add this feature and more.
4. Integration with Google Maps
Successful integration with Google Maps is like reaching the gold mine. This boosts the business of travel apps by leaps and bounds. The very first thing that strikes the mind of a traveler upon reaching a destination is a comfy place to stay. Also important is to find out a local scrumptious meal. There’s nothing like it if your app can give a cue of nearby areas to woo the customer. This takes the travel portal to a whole new level.
5. Inserting Attractive Images
A wide display of attractive images is like the cherry on the cake. Pretty images of hotel rooms, a view of the balcony tempt customers. No travel portal development company would like to set this strategy aside. Showcasing a handful of beautiful pictures would surely attract more users to the website. The best images of the location are like incentives to visit the place.
6. Payment Gateway
The website will render useless unless you curate a simple and secure payment gateway. Without a payment gateway, the entire plan remains unfinished. The gateway is expected to remain simplified with utter important credentials to enter. The gateway must never ask for details that are totally unnecessary. These details could include a postal address, postal code, and landline number etcetera. In the process of exaggeration, a potential client may lose interest. What’s worse is that he/she may never visit the website again. So, these moves are to pay heed to. This is where customers get mesmerized. Or, on the flip side, they lost their enthusiasm.

Conclusion
In this era of digitization, it is never easy to fool people. Everyone goes by reviews. Your travel portal must look professional yet user-savvy to the core. Attractive services are expected to be embedded. Years of expertise and experience go into making a portal successful. At OneClick, our team has integrated these features into all our travel portal development projects. We have nearly a decade of experience in delivering value-driven software development solutions to our partners and clients. Let’s discuss your project.